前端代码整洁之道:lint 标准化
在新公司的参与的第一个项目就是重构一个内部的管理平台,在第一次看源码的时候就发现各类编码风格都有,已经有着往“屎山”发展的趋势了,所以想着对项目进行编码规范和编码风格做一个统一。统一规范的格式不仅看着舒服了一些,还可以提前检查出一些潜在的问题、增强项目的维护性,何乐而不为呢?这周正好完成了风格规范的统一,下面也借机梳理一下使用到的代码检查工具(简称为 lint 工具)的配置流程,如果想要了解具体的配置项介绍可以参考各个工具的官网
重构的项目主要是 Vue3 相关的技术栈,主要使用到 lint 工具包括:
- Editor Config :解决不同 IDE 编辑器编码风格不统一问题
- Prettier:代码格式化工具
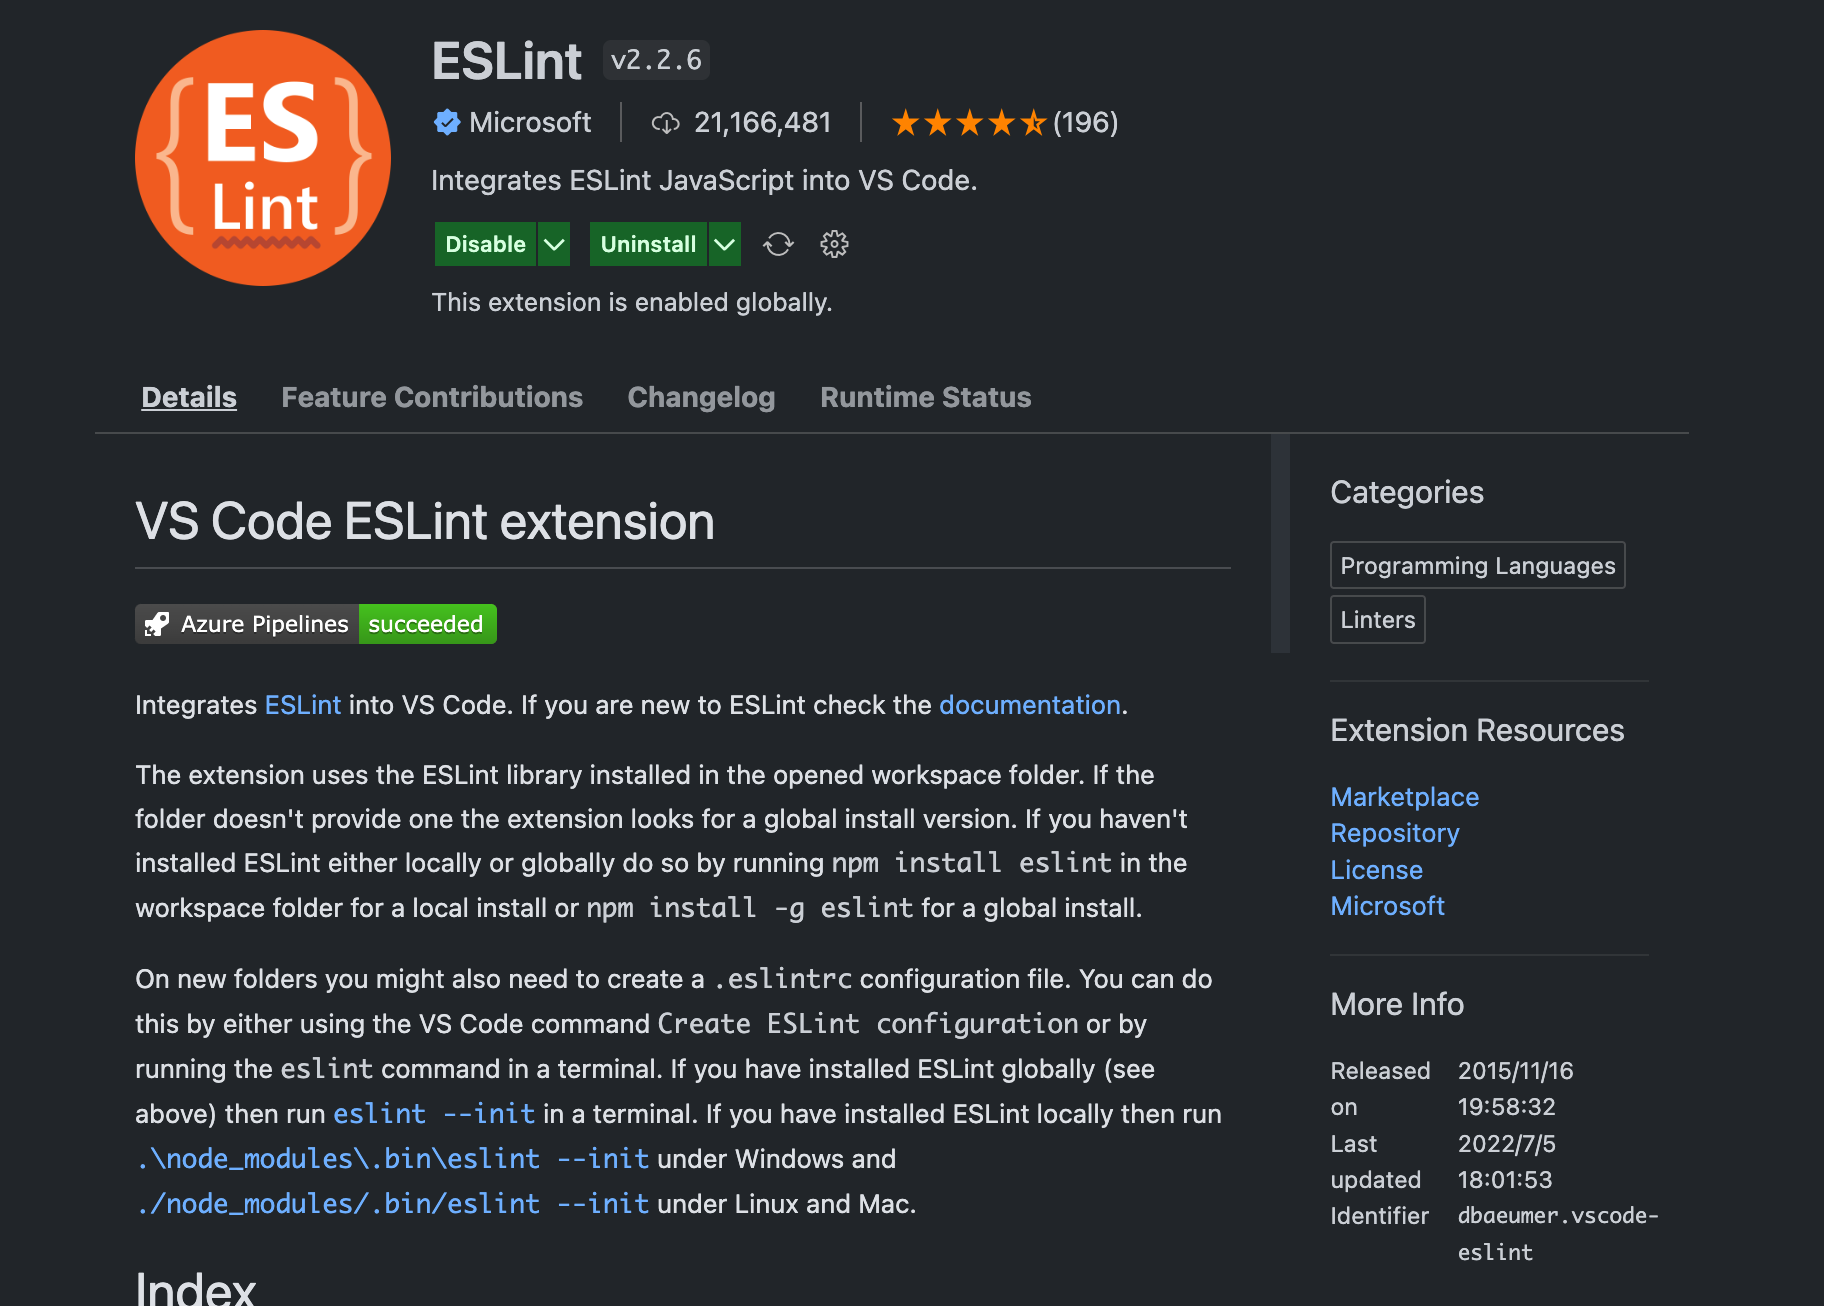
- ESLint:JS / TS 代码检查和修复工具
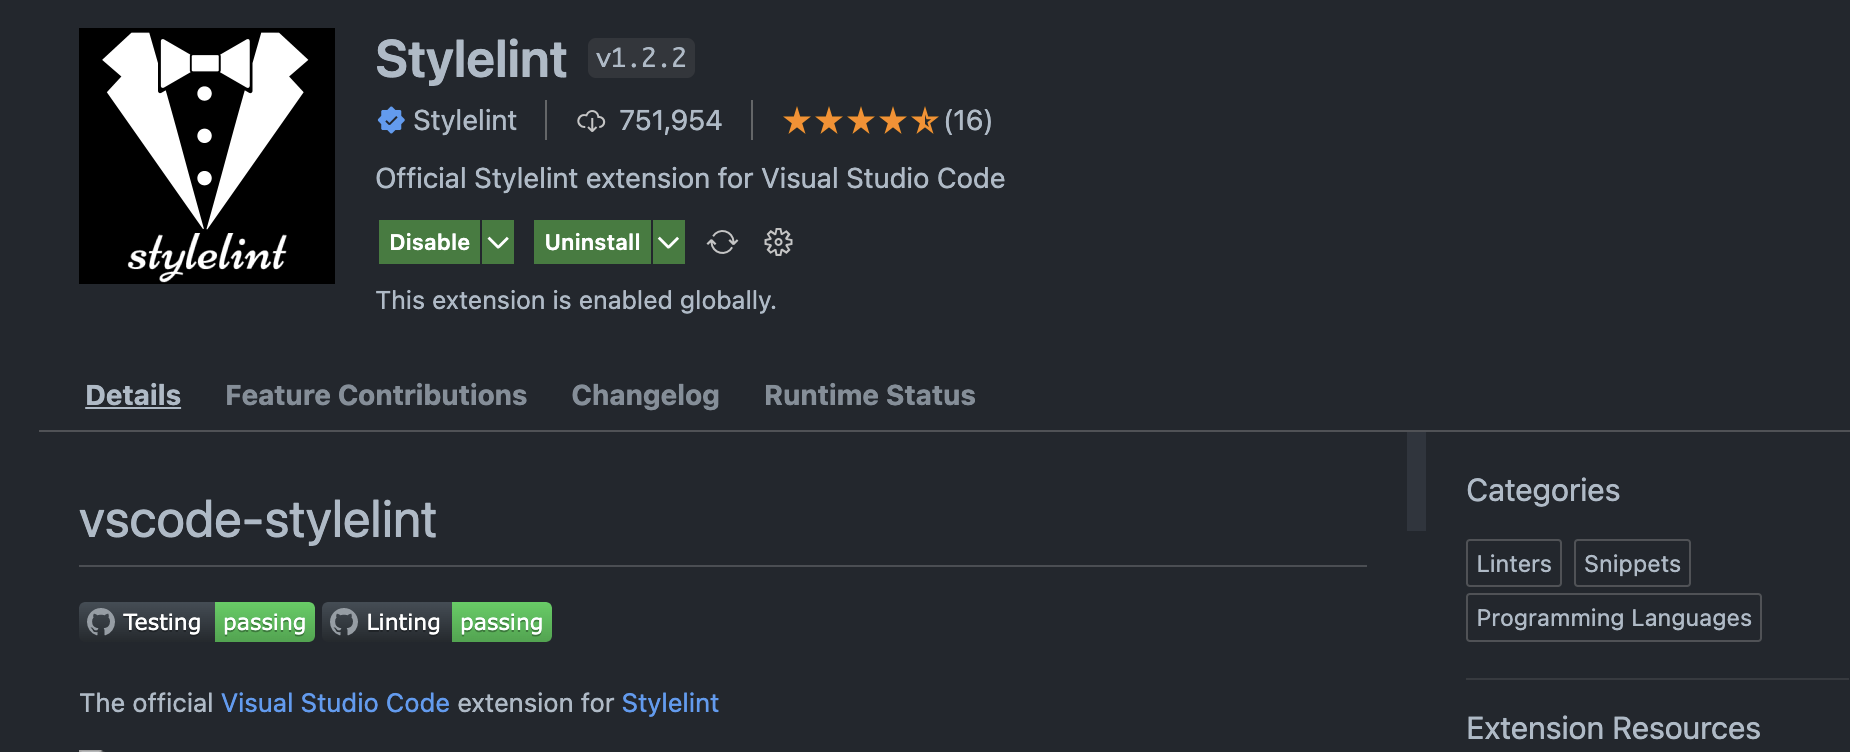
- StyleLint:CSS 代码检查和格式化工具
Editor Config 和 Prettier 配置
首先是配置 Editor Config ,在项目根目录下新建一个 .editorconfig 文件,配置文件中定义好编码规范可以了使用了,我在项目中使用到的 Editor Config 配置如下,主要定义了字符集、缩进、换行的风格
# 表示是最顶层的 EditorConfig 配置文件
root = true

# 表示所有文件适用
[*]
charset = utf-8 # 设置文件字符集为 utf-8
indent_style = space # 缩进风格(tab | space)
indent_size = 2 # 缩进大小
end_of_line = lf # 控制换行类型(lf | cr | crlf)
trim_trailing_whitespace = true # 去除行首的任意空白字符
insert_final_newline = true # 始终在文件末尾插入一个新行

[*.{yml,yaml,json}]
indent_style = space
indent_size = 2

[*.md]
max_line_length = off
trim_trailing_whitespace = false

[Makefile]
indent_style = tab
接下来是 Prettier 配置,首先引入依赖,在项目根目录创建 prettier 配置文件和需要忽略检查的文件
pnpm i prettier -D # 引入 Prettier 依赖

echo {}> .prettierrc.js # 目录新建 .prettierrc.js 配置文件
echo > .prettierignore # 新建 .prettierignore 不需要被格式化的文件放在这里
.prettierrc.js 主要是定义与代码风格相关的内容,我习惯于定义好一套比较齐全的配置,便于后期维护,具体配置和介绍如下
// .prettierrc.js
module.exports = {
  // 单行代码超出 100 个字符自动换行
  printWidth: 100,
  // 一个 tab 键缩进相当于 2 个空格
  tabWidth: 2,
  // 行缩进使用 tab 键代替空格
  useTabs: false,
  // 每一条语句后面添加分号
  semi: true,
  // 使用单引号
  singleQuote: false,
  // 仅仅当必须的时候才会加上双引号
  quoteProps: 'as-needed',
  // JSX 中使用单引号
  jsxSingleQuote: false,
  // 多行用逗号分隔的句法,未尾添加逗号(符合es5规范)
  trailingComma: 'es5',
  // 在括号和对象的文字之间加上一个空格
  bracketSpacing: true,
  // 多行的 JSX 对象结尾的 > 放在结尾同一行
  bracketSameLine: false,
  // 箭头函数,只有一个参数的时候,也需要括号
  arrowParens: 'always',
  // 格式化文档的某一部分,默认为全部
  rangeStart: 0,
  rangeEnd: Infinity,
  // 对于 .vue 文件,缩进 <script> 和 <style> 里的内容
  vueIndentScriptAndStyle: true,
  // 不需要写文件开头的 @prettier
  insertPragma: false,
  // 不需要在文件开头插入 @prettier
  requirePragma: false,
  // 使用默认折行标准
  proseWrap: 'preserve',
  // 根据显示样式决定 html 要不要折行
  htmlWhitespaceSensitivity: 'css',
  // 换行符使用 lf
  endOfLine: 'lf',
}
.prettierignore 主要是定义 prettier 不需要格式化的文件,下面是我用到的配置
/dist/*
.local
.output.js
/node_modules/**

**/*.svg
**/*.sh

/public/*
第三步是安装 Prettier 插件,在 VSCode 中 Prettier 插件在项目根目录中有 .editorconfig 文件和.prettierrc.js 文件中的一个时,就会优先读取项目中的配置,如果两个文件都没有的话才会读取 VSCode 的配置
安装好插件后,建议在 VSCode 的配置中开启自动保存、自动格式化相关功能,这样就可以实现实时自动化的效果了,用起来简直不要太爽
// 自动保存
"files.autoSave": "onFocusChange",
// 保存自动格式化
"editor.formatOnSave": true,
// 保存自动去除多余空格
"files.trimTrailingWhitespace": true,
// 保存自动修复代码错误
"editor.codeActionsOnSave": {
  "source.fixAll": true
},
ESLint 配置
安装 ESLint 最简单的方式其实是执行 eslint --init 命令(需要全局安装 ESLint),然后选择需要的规则、是否使用 TS、使用的框架就好,然后就会自动引入相应的依赖并生成好配置文件了,基本可以说是 “零配置”

但实际应用过程中还是考虑到原项目的情况,我还是手动引入的相关的依赖,主要使用到的依赖包括
- eslint:核心依赖
- vue-eslint-parser:配置解析
.vue文件的解析器 - eslint-plugin-vue:Vue 官方出品的 ESLint 插件
- typescript-eslint:支持 ts 的 ESLint 插件,主要使用到 plugin 和 parser
第一步先安装依赖
pnpm i -D eslint vue-eslint-parser eslint-plugin-vue @typescript-eslint/eslint-plugin @typescript-eslint/parser
第二步在根目录新建 .eslintrc.js, .eslintignore 两个文件,.eslintignore 除外 node_modules,.eslintrc.js 配置内容如下
module.exports = {
  root: true,
  env: {
    browser: true,
    node: true,
    es6: true,
  },
  parser: 'vue-eslint-parser',
  parserOptions: {
    parser: '@typescript-eslint/parser',
    ecmaVersion: 2020,
    sourceType: 'module',
    jsxPragma: 'React',
    ecmaFeatures: {
      jsx: true,
    },
  },
  extends: [
    'plugin:vue/vue3-recommended',
    'plugin:@typescript-eslint/recommended',
  ],
  rules: {
    // 关闭不允许使用 any
    '@typescript-eslint/no-explicit-any': 'off',
    // 关闭组件必须由多个单词命名
    'vue/multi-word-component-names': 'off',
    // 关闭禁止使用 ts 备注
    '@typescript-eslint/ban-ts-comment': 'off',
    // 关闭禁止使用非空断言
    '@typescript-eslint/no-non-null-assertion': 'off',
    // 可以使用 _ 开头定义不使用的变量
    '@typescript-eslint/no-unused-vars': [
      'error',
      {
        argsIgnorePattern: '^_',
        varsIgnorePattern: '^_',
      },
    ],
    'no-unused-vars': [
      'error',
      {
        argsIgnorePattern: '^_',
        varsIgnorePattern: '^_',
      },
    ],
  },
}
其中 ESLint 和 Prettier 还会存在冲突,这时候会用到这两个插件,目的就是让 Prettier 的优先级大于 ESLint
eslint-plugin-prettier将 Prettier 的规则设置到 ESLint 的规则中eslint-config-prettier关闭 ESLint 中与 Prettier 中会发生冲突的规则
安装命令: pnpm i eslint-plugin-prettier eslint-config-prettier -D,.eslintrc.js extends 添加:"plugin:prettier/recommended",注意要添加到最后一个,ESLint 的解析顺序是按照从下往上的顺序来加载扩展的
 extends: [
    "plugin:vue/vue3-recommended",
    "plugin:@typescript-eslint/recommended",
+   "plugin:prettier/recommended",
  ],
第三步再安装微软官方的 ESLint 插件,关于 ESLint 的配置就算完成了

StyleLint 配置
我在项目中配置的 StyleLint 依赖包括
-
stylelint:核心依赖
-
stylelint-config-standard:官方推荐的代码风格
-
stylelint-config-recommended 和 stylelint-config-recommended-vue:常用的 StyleLint 配置依赖
-
stylelint-config-prettier: 解决 StyleLint 和 Prettier 的冲突问题
-
stylelint-order:强制你按照某个顺序编写 css
由于是 Vue 项目,并且使用到了 less,所以还会使用到两个 PostCSS 依赖
- postcss-html:解析文件中
<style>标签(vue 文件中使用) - postcss-less:支持解析 less 文件
首先安装相关依赖
pnpm i -D stylelint stylelint-config-standard stylelint-config-recommended stylelint-config-recommended-vue stylelint-config-prettier stylelint-order postcss-html postcss-less
第二步在项目根目录新建 .stylelintrc.js 和 .stylelintignore 两个文件, .stylelintrc.js 文件中的主要配置如下,我在 rules 配置项中为了兼容老项目的风格,还自定义了一些配置项
module.exports = {
  root: true,
  plugins: ['stylelint-order'],
  customSyntax: 'postcss-html',
  rules: {
    // 百分比声明为数字 rgb(0 0 0 / 0.1)
    'alpha-value-notation': 'number',
    // 空规则保持空行间隔
    'at-rule-empty-line-before': 'never',
    // 忽略一些关键字规则,主要为了兼容 less 和 tailwind
    'at-rule-no-unknown': [
      true,
      {
        ignoreAtRules: [
          'tailwind',
          'content',
          'each',
          'error',
          'extend',
          'for',
          'function',
          'if',
          'include',
          'mixin',
          'return',
          'while',
        ],
      },
    ],
    // 颜色表示方式以逗号分隔:rgb(0, 0, 0)
    'color-function-notation': 'legacy',
    // 不允许非法的 hex 颜色表示方式:#fff
    'color-no-invalid-hex': true,
    'comment-empty-line-before': 'never',
    // 不允许多行声明
    'declaration-colon-newline-after': null,
    // 每个属性之间没有空行
    'declaration-empty-line-before': 'never',
    // 不允许 linear-gradient() 存在不符合标准的方向
    'function-linear-gradient-no-nonstandard-direction': true,
    // https://stylelint.io/user-guide/rules/list/no-descending-specificity
    'no-descending-specificity': null,
    // 允许空文件
    'no-empty-source': null,
    // 结尾允许存在空行
    'no-missing-end-of-source-newline': null,
    // 小数必须以 0 开头
    'number-leading-zero': 'always',
    // 定义排序规则
    'order/order': [
      [
        'dollar-variables',
        'custom-properties',
        'at-rules',
        'declarations',
        {
          type: 'at-rule',
          name: 'supports',
        },
        {
          type: 'at-rule',
          name: 'media',
        },
        'rules',
      ],
      { severity: 'warning' },
    ],
    // 允许存在空行
    'rule-empty-line-before': [
      'always',
      {
        ignore: ['after-comment', 'first-nested'],
      },
    ],
  },
  extends: ['stylelint-config-standard', 'stylelint-config-prettier'],
  ignoreFiles: ['**/*.js', '**/*.jsx', '**/*.tsx', '**/*.ts'],
  overrides: [
    {
      files: ['*.vue', '**/*.vue', '*.html', '**/*.html'],
      extends: ['stylelint-config-recommended'],
    },
    {
      files: ['*.less', '**/*.less'],
      customSyntax: 'postcss-less',
      extends: [
        'stylelint-config-standard',
        'stylelint-config-recommended-vue',
      ],
    },
  ],
}
第三步配置 .stylelintignore 需要忽略的文件
/dist/*
/public/*
public/*
第四步安装 StyleLint 插件并且在 VSCode 这开启使用 StyleLint 格式化代码

// stylelint
"css.validate": false,
"less.validate": false,
"scss.validate": false,
"stylelint.enable": true,
"stylelint.validate": ["html", "css", "scss", "less", "vue"],
这个插件现在已经是 v1.2.2 的版本了,已经不支持 StyleLint 13 版本,如果你用的是 StyleLint 13 版本的话,需要将这个插件降级使用。点击插件旁边的小齿轮,再点 Install Another Version,选择其他版本进行安装选 0.87.6 版本安装就可以了,这时 css 自动格式化功能恢复正常。但是 StyleLint 14 的版本的格式化排序功能还是不能在自动保存时实现,我的解决方案是手动在 StyleLint 配置文件增加详细的 CSS 属性排序,这样就可以舒服的使用 StyleLint 的格式化功能了,具体的排序可以参考
再加上统一的执行命令
上面这一套配置下来就可以顺利的实现保存自动格式化,并且所有人的代码风格都是一致的效果了,最后又朝着“像写诗一样写代码”的目标更近了一步,最后在 package.json 文件中加上统一的全局格式化命令,就可以愉快的使用了
"scripts": {
  "lint:eslint": "eslint --cache --max-warnings 0  \"{src,mock, build}/**/*.{vue,ts,tsx}\" --fix",
  "lint:prettier": "prettier --write  \"src/**/*.{js,json,tsx,css,less,scss,vue,html,md}\"",
  "lint:stylelint": "stylelint --cache --fix \"**/*.{vue,less,postcss,css,scss}\" --cache --cache-location node_modules/.cache/stylelint/",
}